Android Email Setup Guide
Step 1
From your Android phone’s Home screen, go to Settings > Accounts > Add Account, and if necessary, choose the account type Email.
Step 2
Enter your e-mail address and password, and press Manual Setup.
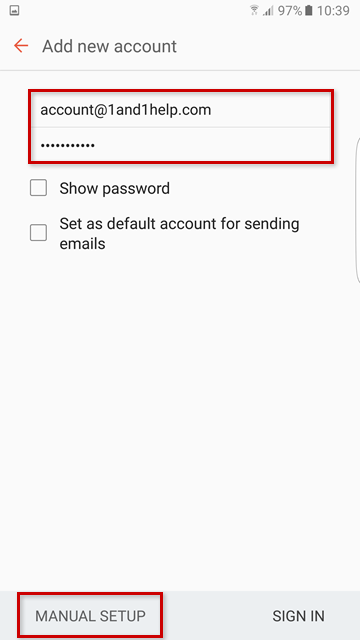
Add New Account Screen
Step 3
Choose IMAP Account.
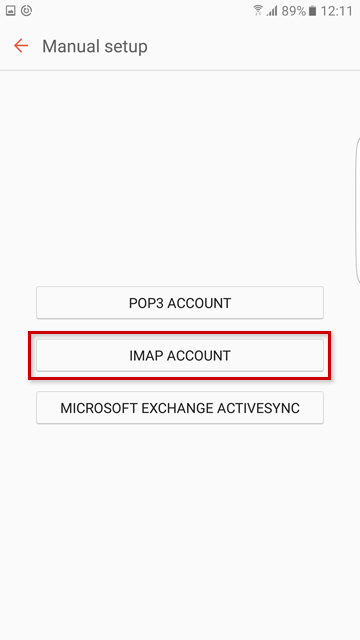
Manual Setup Screen
Step 4
Enter the following incoming and outgoing server information and press Sign In when finished:
Incoming Server (A)
IMAP Server: mail.pwumember.ca
Security Type: None
Port: 143
Outgoing Server (B)
SMTP Server: mail.pwumember.ca
Security Type: None
Port: 587
Authentication: Checked
User name: Your full e-mail address
Password: Your e-mail address password
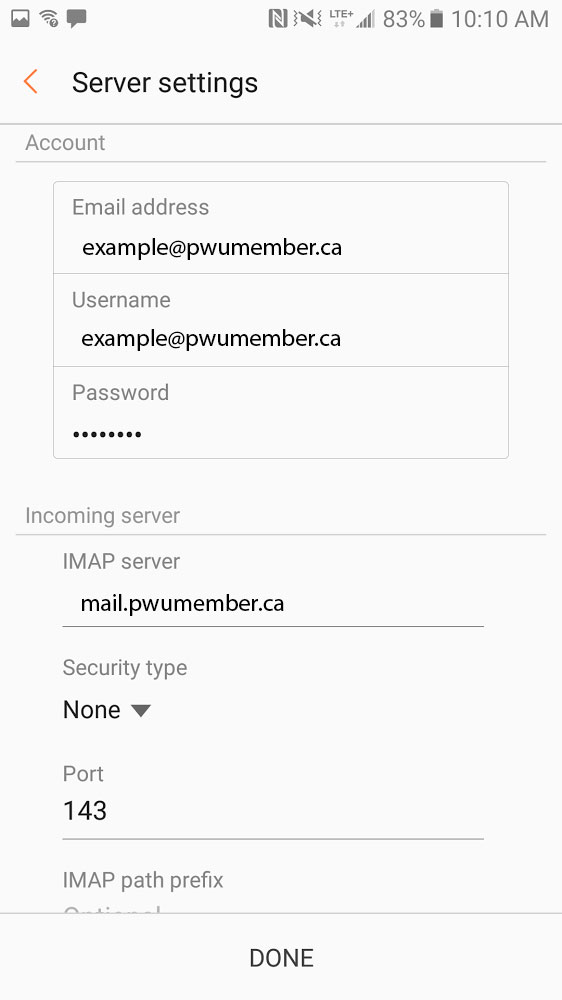
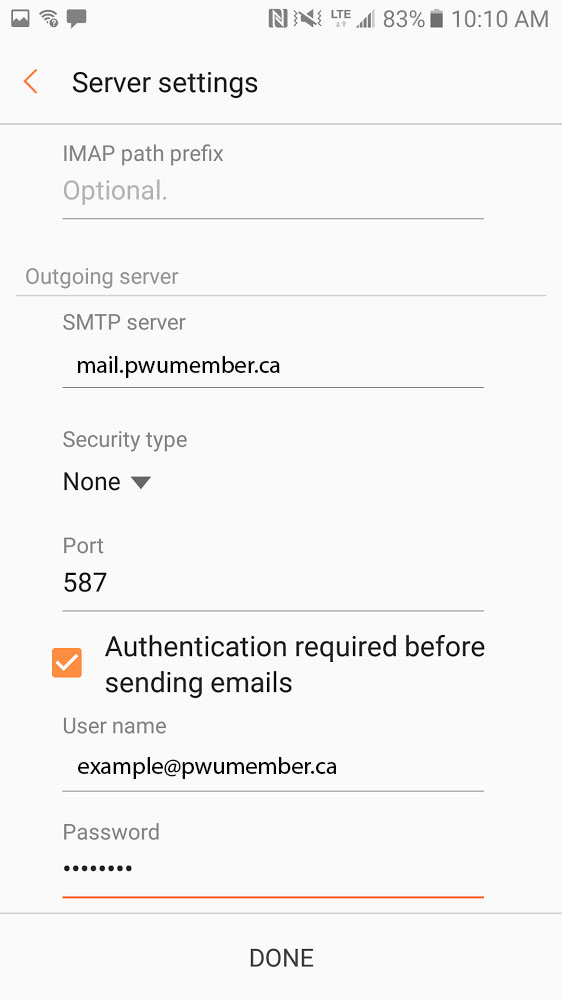
Manual Setup Screen
Step 5
Optionally, you can change the Period to sync E-mail and Sync schedule. To continue, press Sign In.
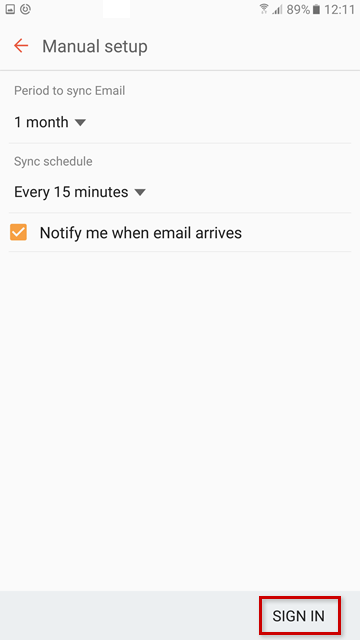
E-mail Sync Settings
Step 6
Set your Account name (optional) and the name that will be displayed in outgoing e-mails. It is suggested to use your e-mail address as the account name to differentiate it from any other e-mail accounts you may set up on your phone.
Finally, press Done to finish.
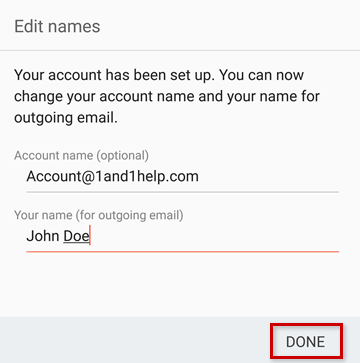
Edit Names Screen
The setup is complete. Your phone should download and display your recent e-mails in your default application.